Selecting and transforming
Everything you draw stays an object you can select and change later. The Select tool (V) is the first tool in the tool rail.
Selecting
- Tap a stroke to select it. This replaces the current selection.
- Drag on the canvas to draw a lasso. Every stroke with a point inside the lasso is selected.
- Tap an empty area to clear the selection.
- Ctrl+A selects everything on visible, unlocked layers.
- ‘Same Color’ in the property panel selects every stroke that has the colour of the current selection.
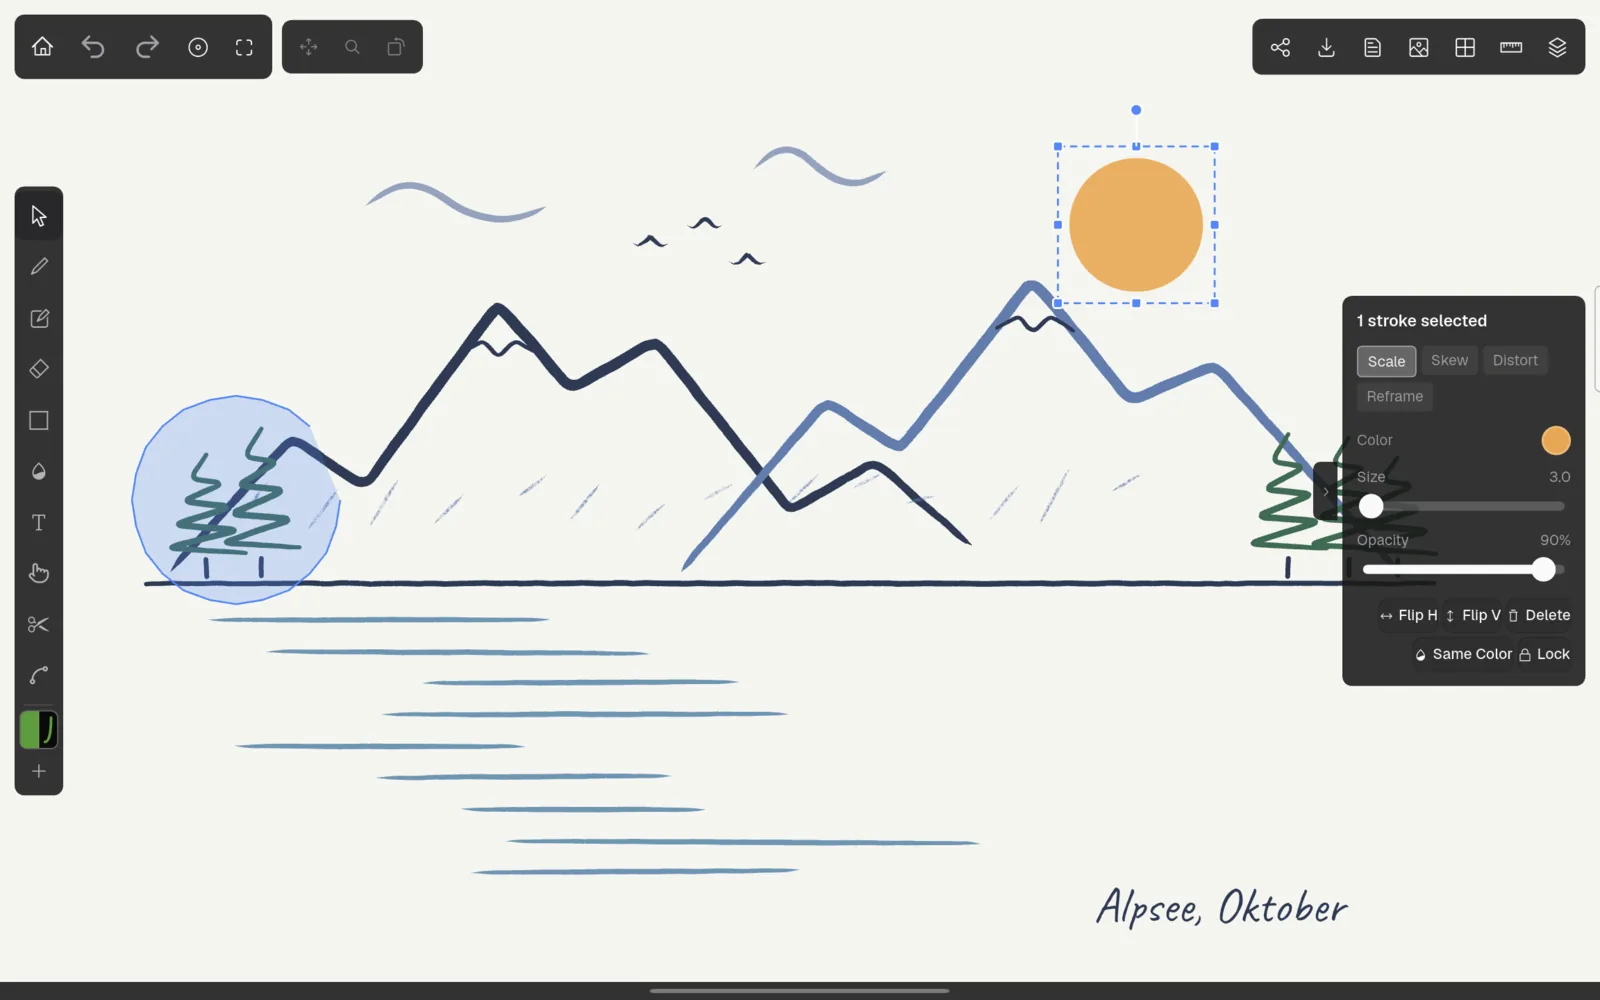
Grouped strokes are always selected together. Strokes on hidden or locked layers cannot be selected. Strokes that are locked individually can still be selected, so that you can unlock them.
You can also select a single object from the object list in the layer panel.
The selection frame
A selection is shown with a dashed frame, handles on its corners and edges, and a round handle above it for rotating.
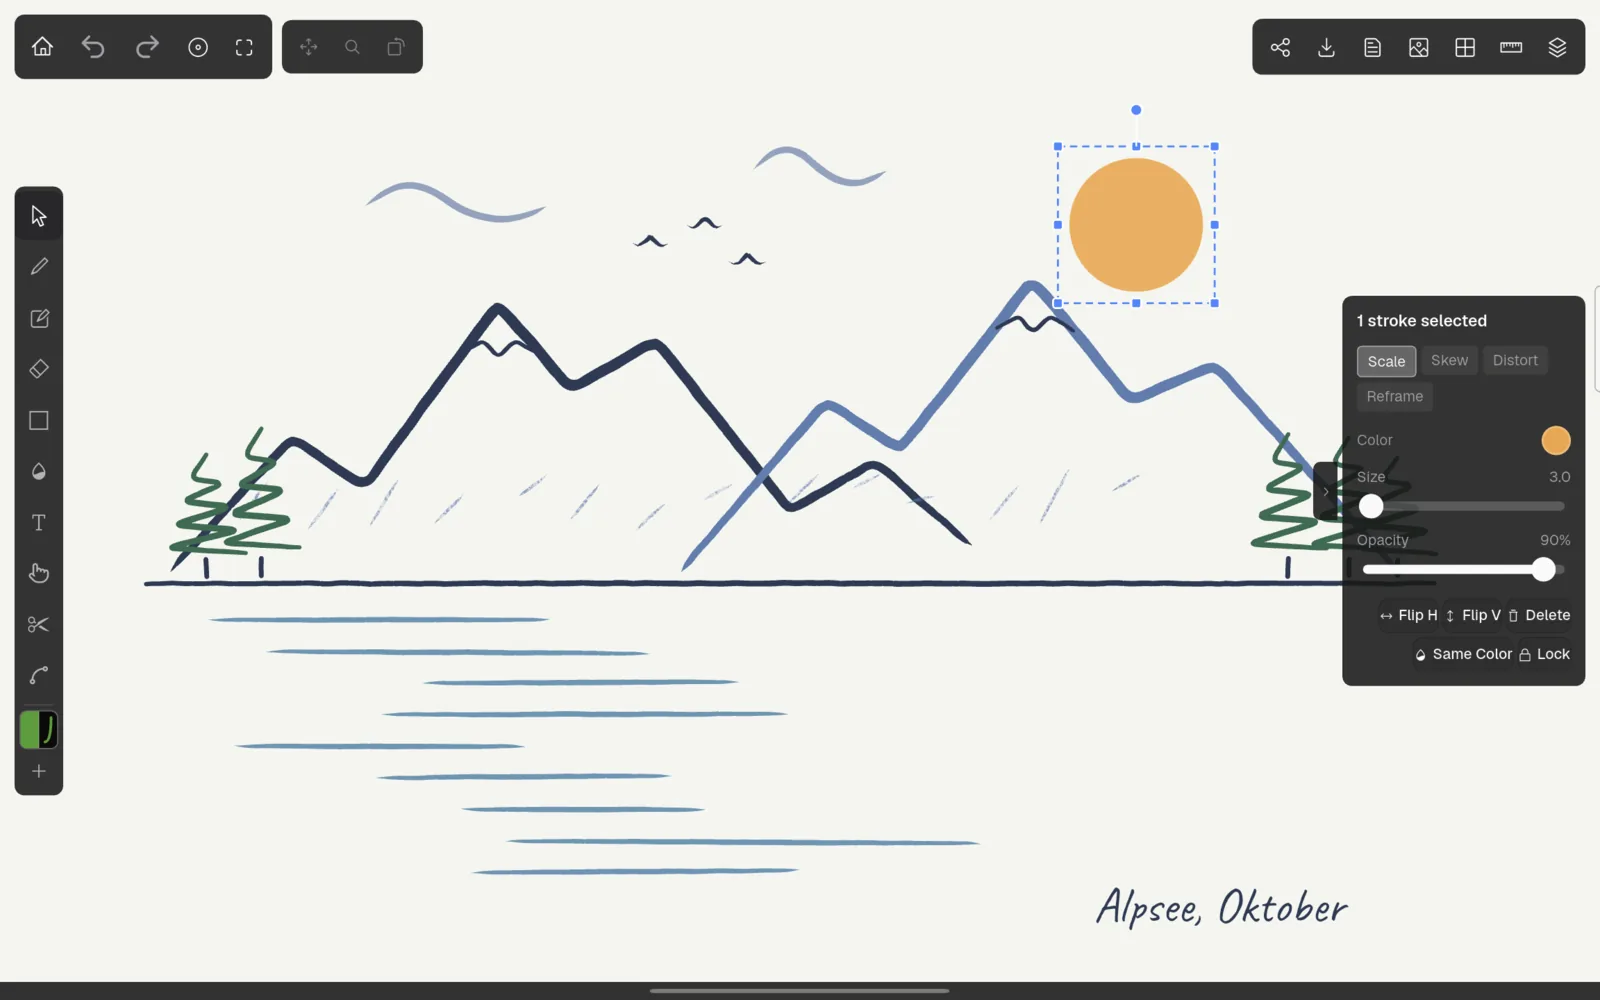
- Drag inside the frame to move the selection.
- Drag a corner handle to scale evenly from the opposite corner.
- Drag an edge handle to stretch in one direction.
- Drag the round handle above the frame to rotate around the centre.
Each drag is one undo step. If ‘Show measurements’ is on in the grid settings, the size of the selection is shown below the frame.
Transform modes
The buttons at the top of the property panel change what the handles do:
| Mode | What the handles do |
|---|---|
| ‘Scale’ | The default described above. |
| ‘Skew’ | Edge handles slant the selection sideways or up and down. Corner handles still scale, and rotation still works. |
| ‘Distort’ | Each corner handle moves freely, for perspective-like distortions. Only the corners and moving work in this mode. |
| ‘Reframe’ | Moves the corners of the frame without changing the strokes. The adjusted frame is drawn in orange; ‘Reset Frame’ restores it. |
When you rotate, skew or distort a selection that contains several separate objects, Kritzel Studio groups them automatically so that they keep their arrangement.
Changing selected strokes
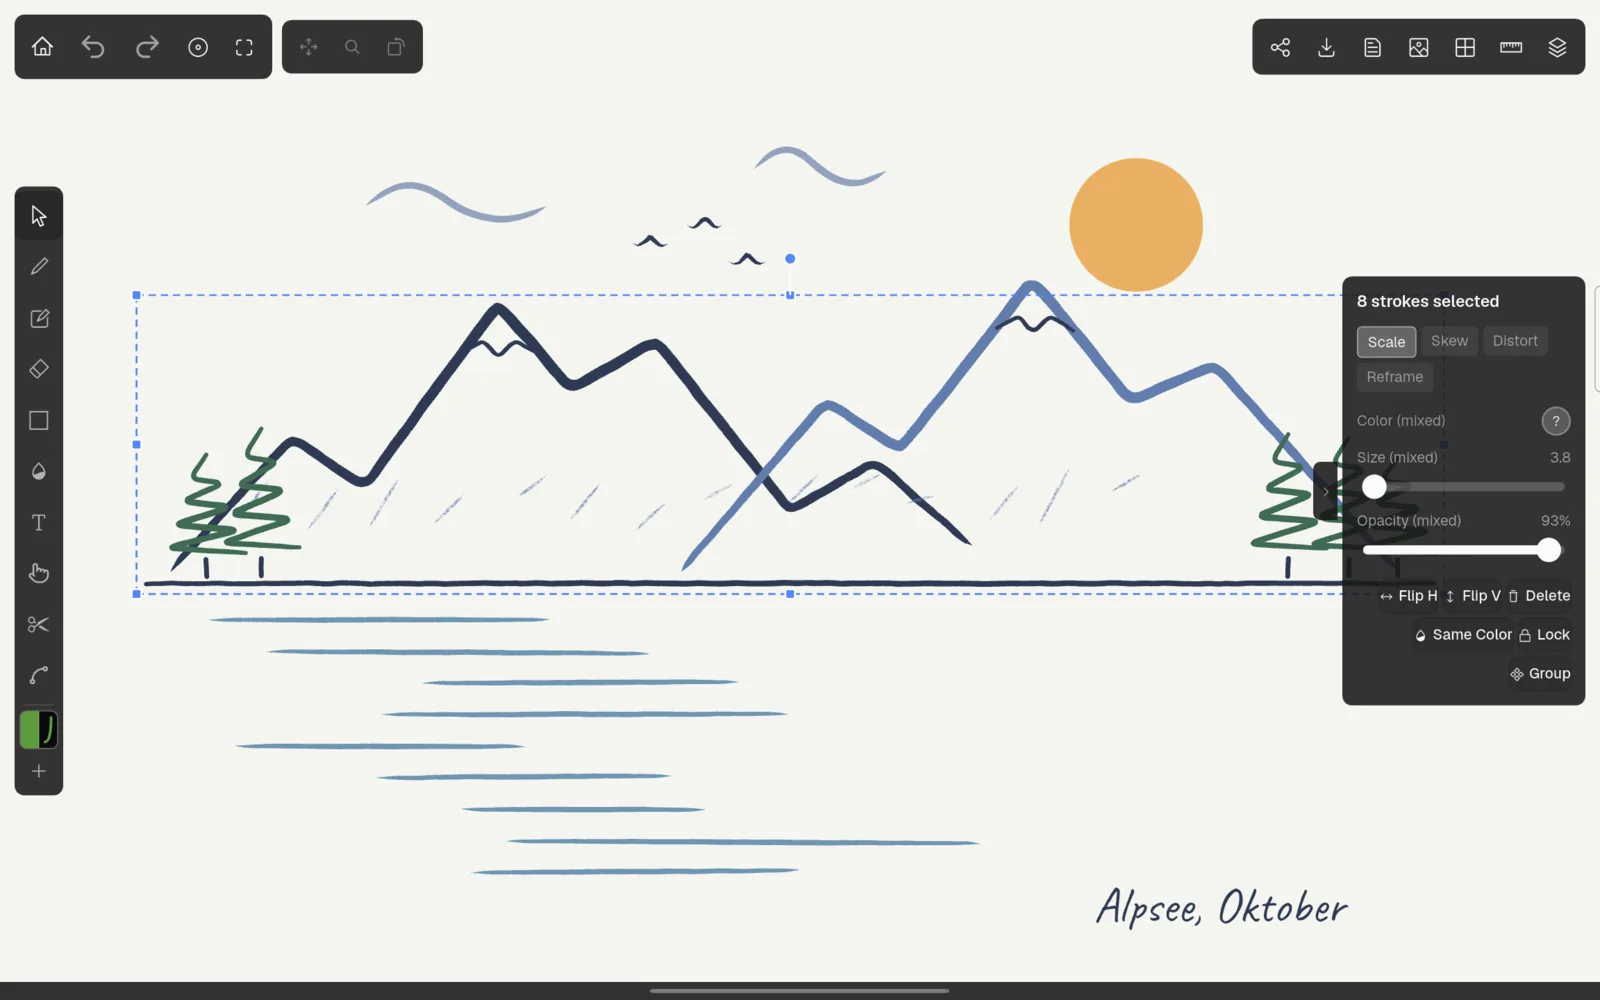
The property panel shows the colour, size and opacity of the selection. If the selected strokes differ, the label reads ‘(mixed)’ and the colour swatch shows a question mark; changing the value applies it to all of them. For rectangles, ‘Corner radius’ appears as well.
Below the sliders are these buttons:
| Button | What it does |
|---|---|
| ‘Flip H’ / ‘Flip V’ | Mirrors the selection horizontally or vertically. |
| ‘Delete’ | Deletes the selection. Delete and Backspace do the same. |
| ‘Same Color’ | Selects all strokes that have the colour of the selection. |
| ‘Lock’ / ‘Unlock’ | Locks the selected strokes so they cannot be moved, changed or erased by accident. |
| ‘Group’ | Combines several objects into a group that is selected and moved as one. Shown when at least two objects are selected. |
| ‘Ungroup’ | Splits the selected groups again. |
If a single text object is selected, the panel shows the text options instead, including ‘Edit text…’.
When a selection contains locked strokes, it cannot be moved, transformed or deleted. Kritzel Studio then shows ‘The selection contains locked objects. Unlock them first.’
There is no copy and paste for strokes yet. To duplicate a drawing, duplicate its layer or the whole project.
The context menu (desktop)
On a Mac or PC, right-click the canvas to open a context menu. Its contents depend on where you click:
- With a selection: ‘Flip Horizontal’, ‘Flip Vertical’, ‘Select Same Color’, ‘Lock’ or ‘Unlock’, ‘Group’ or ‘Ungroup’, and ‘Delete’.
- On a stroke, with nothing selected: ‘Select Stroke’, ‘Select Same Color’ and ‘Delete’.
- On empty canvas: ‘Select All’ and ‘Toggle Layers’.